
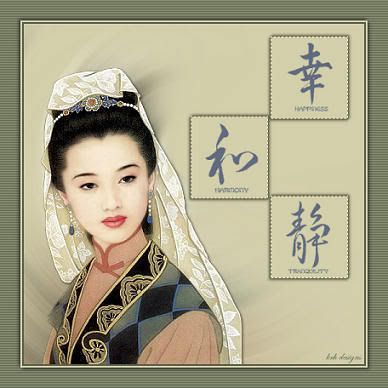
Click Here to Download
Hugs! Nancy
 The tag above is what we will be making in this tutorial Lets get started!! Open a new image 400x400 Copy and paste your tube as a new layer Resize your tube so that it fits nicely to one side of your image Add an appropriate drop shadow to your tube My Example below: 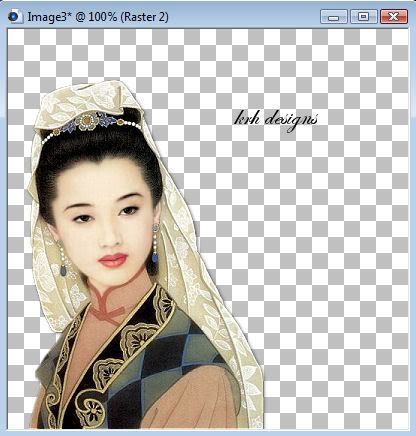 Pick a light color from your tube and flood fill your bottom layer with this color Duplicate your tube layer one time (click on tube layer - Layers - Duplicate) Close the eye off on the top tube layer Click on the bottom tube layer Go to Adjust - Blur - Radial Blur I used the settings below but feel free to experiment here 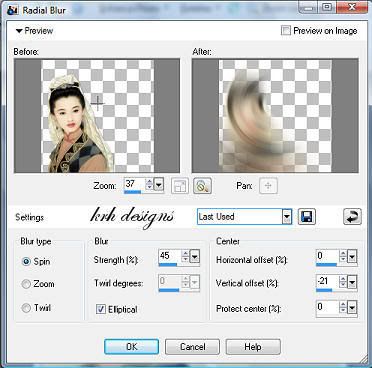 Open the top tube layer. You should have some blur that you can see underneath it In your materials palette set your foreground color to a darker color from your tube Set your background color to the color you flood filled the bottom layer with Minimize this image to your workspace (might be a good time to save as a pspimage as well) Open a new image 400x400 Select your preset shape tool Use the settings below - make sure to change your line style to something other than a solid line Draw out a rectangle in roughly the middle of your image Not too big and not too small 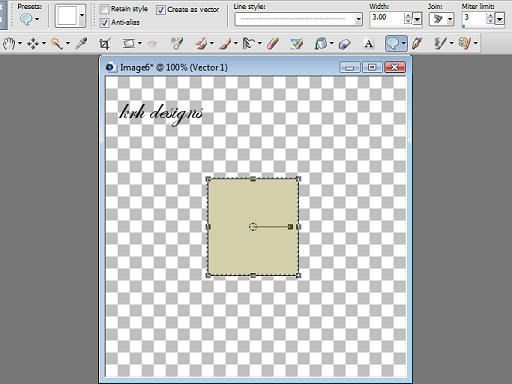 Go to Objects - Align - Center in Canvas Convert this vector layer to a raster layer Duplicate the layer Effects - Image effects - Offset **Note** If your rectangle is considerably larger or smaller than mine you will need to adjust these settings Here are the settings I used: 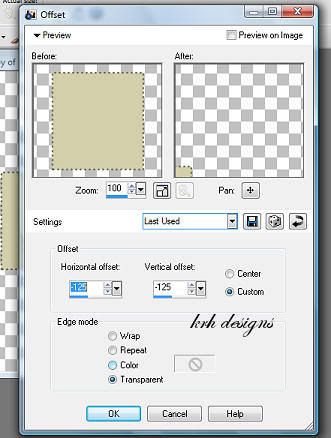 Offset is a great tool to use to evenly space things on a tag. Click back on your original shape layer and duplicate it again Effects - Image effects - Offset This time you will use opposite vertical settings as before Here are mine - note the vertical setting is now positive 125 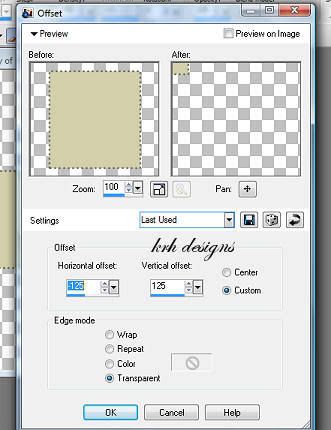 Go to layers - merge - merge visible You should have something like this  Add a drop shadow to your layer using these settings vertical = 2 horizontal = 2 opacity = 50 blur = 6.00 color = black Repeat this drop shadow, but change the vertical and horizontal to -2 Edit - Copy Bring back up your original image Edit - Paste as a new layer For my tag, the image is too big (yours will probably be as well) so we will need to resize 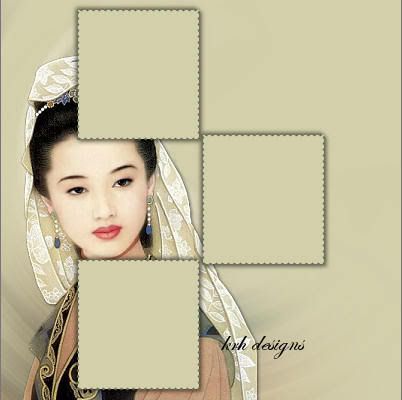 Also, since my tube is on the left side I want to mirror this layer If you are going to mirror yours, do it before you resize I resized by 75% - Its going to depend on your tube and your tag space Don't forget to sharpen Selections - Select all and position this layer to the opposite side of the tag as your tube You should have something like this 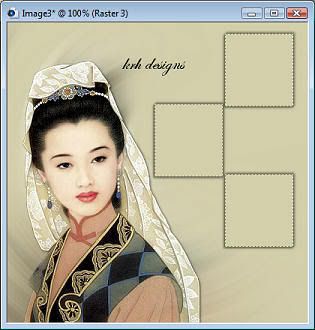 Now its time to add your accents to your boxes You can use tubes OR brushes - its up to you! I am using brushes on this tag If you use tubes be sure to add a drop shadow to them You will need to resize your accents to fit inside the middle of the boxes comfortably Once you are happy with your accents and boxes, Layers - Merge - Merge visible Set your materials palette back to the light and dark colors you used for the preset shapes Image - Add borders 2 pixels dark color 2 pixels light color 24 pixels dark color Use your magic wand to select the outer border Effects - Texture effects - Blinds I used these settings with the color set to my light color from the background 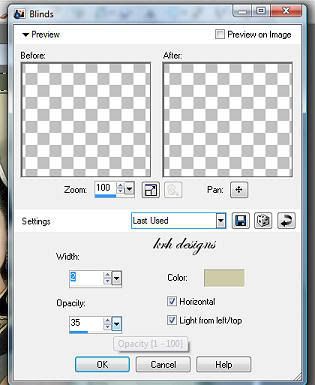 -DO NOT DESELECT- Go to Selections - Invert Now the ants will be marching around the inside of your tag Effects - 3D effects - Drop Shadow Using these settings again vertical = 2 horizontal = 2 opacity = 50 blur = 6.00 color = black Repeat this drop shadow, but change the vertical and horizontal to -2 Resize the image to be under 400 pixels Sharpen one time Add your text and watermark I hope you have enjoyed this tutorial! Images and layout design © KRH Designs |
